Shower Enclosure Installation
Recently, shower enclosure’s glass broken aroused widespread concern in the world market.Most of the clients still think this is only related with the product quality.In fact, if the shower enclosure is safe or not, if it will self-destruct, it also has a close relationship with whether the shower enclosure is correctly installed, in order to make sure the shower enclosure is correctly installed, please ask the local experienced and professional installation staff to operate.
Installation steps:
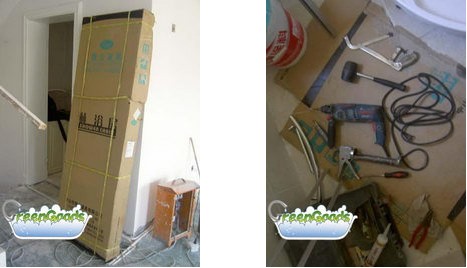
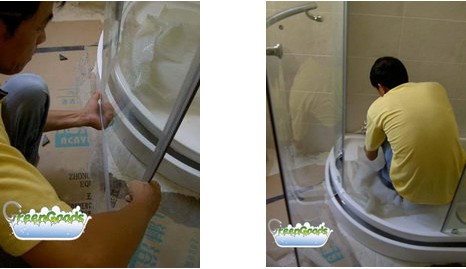
1.Preparation:make sure the package is complete, and make sure there are no missing parts on the package.Prepare the necessary tools, put them on appropriate place in order to easily picking while installing.

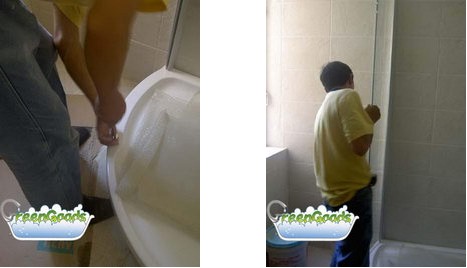
2.Assembling shower tray:adjust the level of the shower tray;make sure there is no water inside and bottom of the pan.Link the shower tray and floor drain firmly, and let the flexible hose could be adjusted according to distance.
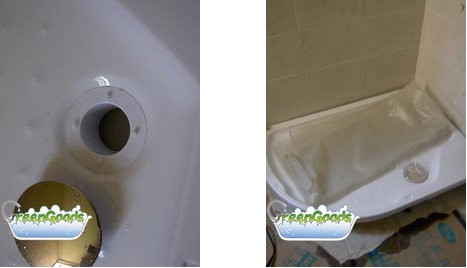
3.Testing and protection:water test after assembled the shower tray in order to make sure the drainage is smooth.The shower tray should be better protected before install the shower room.
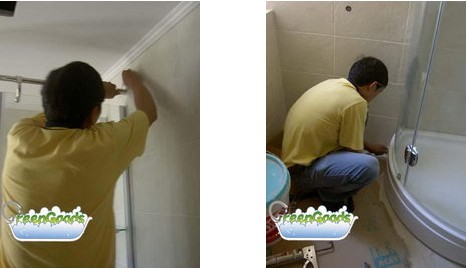
4.Installing shower room:the shower enclosure is safe or not is closely related with if the shower room is formally and corrected installed, if the drilling is accurate, if the fittings are tight, if the waterproof silicone sealer is fully applied, etc.all the above steps could affect the usage of shower enclosure.
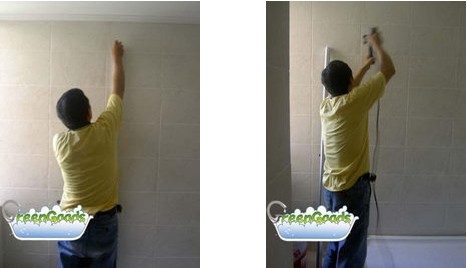
5.Marking and drilling holes:clear the pipes arranging before drilling to prevent drilling off the hidden pipes.Determine the holes of aluminum panel which against the wall by pencil and spirit level, drill holes by percussion drilling.
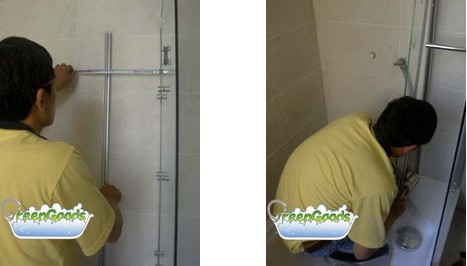
6.Installing aluminum panel:put colloidal particles into the holes;screw the aluminum panel on the wall tightly.Keep adjusting while installing in order to make sure the aluminum panel is completely vertical.Place the shower panels onto the walls.
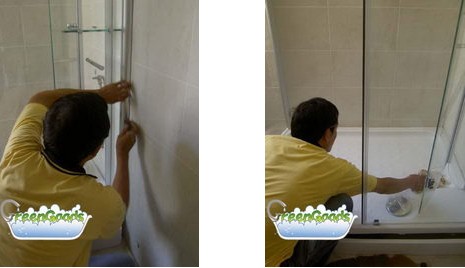
7.Fixing glass:lock the glass hinges into the holes of shower tray, put the flat or curved glass into the hinges, push them into the wall aluminum slowly, and then fix by screws.
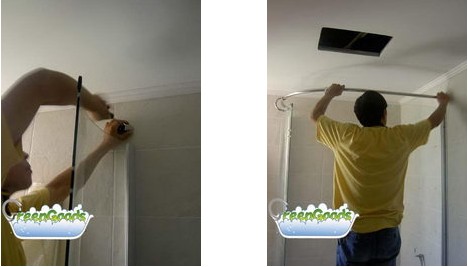
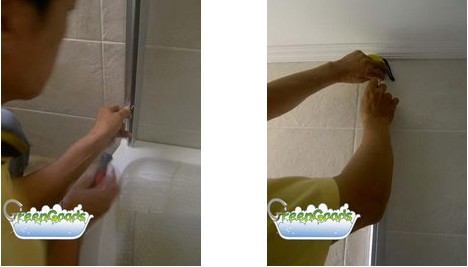
8.Installing top tube:determine the fixed position to drill holes at the top of glass, install straight/angle fixing seat, connect the top tubes, at last fix them on the top of glass by curved tube sets.
9.Installing Shelf:measure a position where to install the shelf, tighten the shelves nuts, fix the shelf glass, and keep them both vertical and horizontal.
10.Installing shower door:install the hardware of the door, put the door hinge mount on the fixed reserve hole, after that, adjust the axis core position until the door could be opened and closed smoothly.
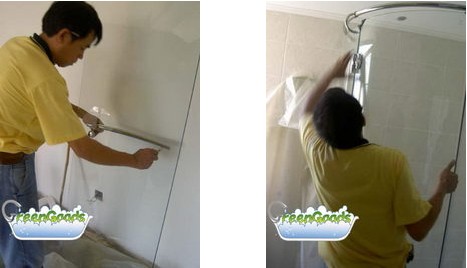
11.Waterproofing:install the suction bar or waterproof strip at the side and bottom of glass, add silicone between aluminum and wall, then add silicone between glass and shower try in order to make a waterproof sealant, make sure to seal completely around the outer edge of the shower door.Otherwise, the water leakage can lead to mold, foul odors and other problems, so it is essential that the area be waterproofed.
12.Debugging and fastening:make sure all parts are smooth and comfortable, adjust immediately once find any problem.Tighten the corresponding screws after adjustment, so that the shower enclosure is more solid and safe.
13.Finishing:put the decoration aluminum into the aluminum against the wall;make sure it looks clean and good.Finally, wipe the whole shower enclosure totally clean by cloth.
A contemporary shower enclosure is among the most important bathroom fixtures in any home;correctly installing a new shower enclosure is a great way to bring new life and beauty to even the most traditional home.Before installing the shower enclosure, the above steps and rules must be followed.Especially after the silicone sealant has been applied, allow it to set for a period of 24 hours before using the shower.As soon as the shower enclosure is completely installed, you will gladly see that the new shower enclosure do a great deal to update the look of your home.
 Facebook
 Twitter
 Google+
 Youtube
 Pinterest
 Houzz
Houzz